Table of Contents
Introduction
Machine learning is here to stay. It’s also a must look into type of thing for a lot of people. However making a fully custom model to do a specific task is very hard. This blog post will go into detail on how to take a prebuilt/trained model and use it for our own purpose. We will take the YOLOv5 model and retrain it with a fully custom dataset to detect the company logo. Read on down below and follow along for the ride.
Please note that if you want to test this by yourself it is advised to have a decent computer with an NVidia CUDA capable GPU or use an online platform like Google Colab which will give you a free cloud GPU to test things with.
Yolo V5
YOLOv5 is the fifth mayor iteration for the You Only Look Once model.
It’s a very high performing and popular model for performing object detection.
The model is fully open source and is trained on the CoCo dataset and can perform detections of about 80 classes of objects.
It’s also relatively easy to retrain the model with custom data so it can perform detection on other things than the CoCo dataset & objects.
For iOS users there is an app available on the app store that allows you to use the YoloV5 model in realtime with the camera your device. The speed and accuracy is quite impressive, make sure to give it a try!
The model has different sizes that can be used, each specific size has pros and cons. The larger models will perform better but require a lot more compute power.

For this example we will be retraining the large model, since I have a decent NVidia GPU I can use.
Creating a dataset
A good dataset is extremely important when (re)training a model. It has an immense effect on the training process.
For our custom logo detection I’ve made about 100 photos of the Ordina logo in different forms and under different conditions. It’s very important that there are a lot of different images and most single images should have different versions with slight alterations. This can be a very time consuming thing to do! As we will later see there are tools to help with this!
Making and gathering photos with the logo is only one part of the preparations that need to be done. The second part can be even more tedious but is quintessential to the training process. The photos need to be labelled. This means creating a file that defines where the logos are located in the photo.
This can be done by hand, but it’s easier to use a decent tool, one of the tools that can do this is LabelImg. An open source tool for annotating images. It is a python program that can be run on most operating systems.
Annotating is simple yet time consuming. We run the program, select the folder where all the images are stored and manually go over each photo, drawing a bounding box over each Ordina logo and saving the data before moving on to the next photo.
RoboFlow
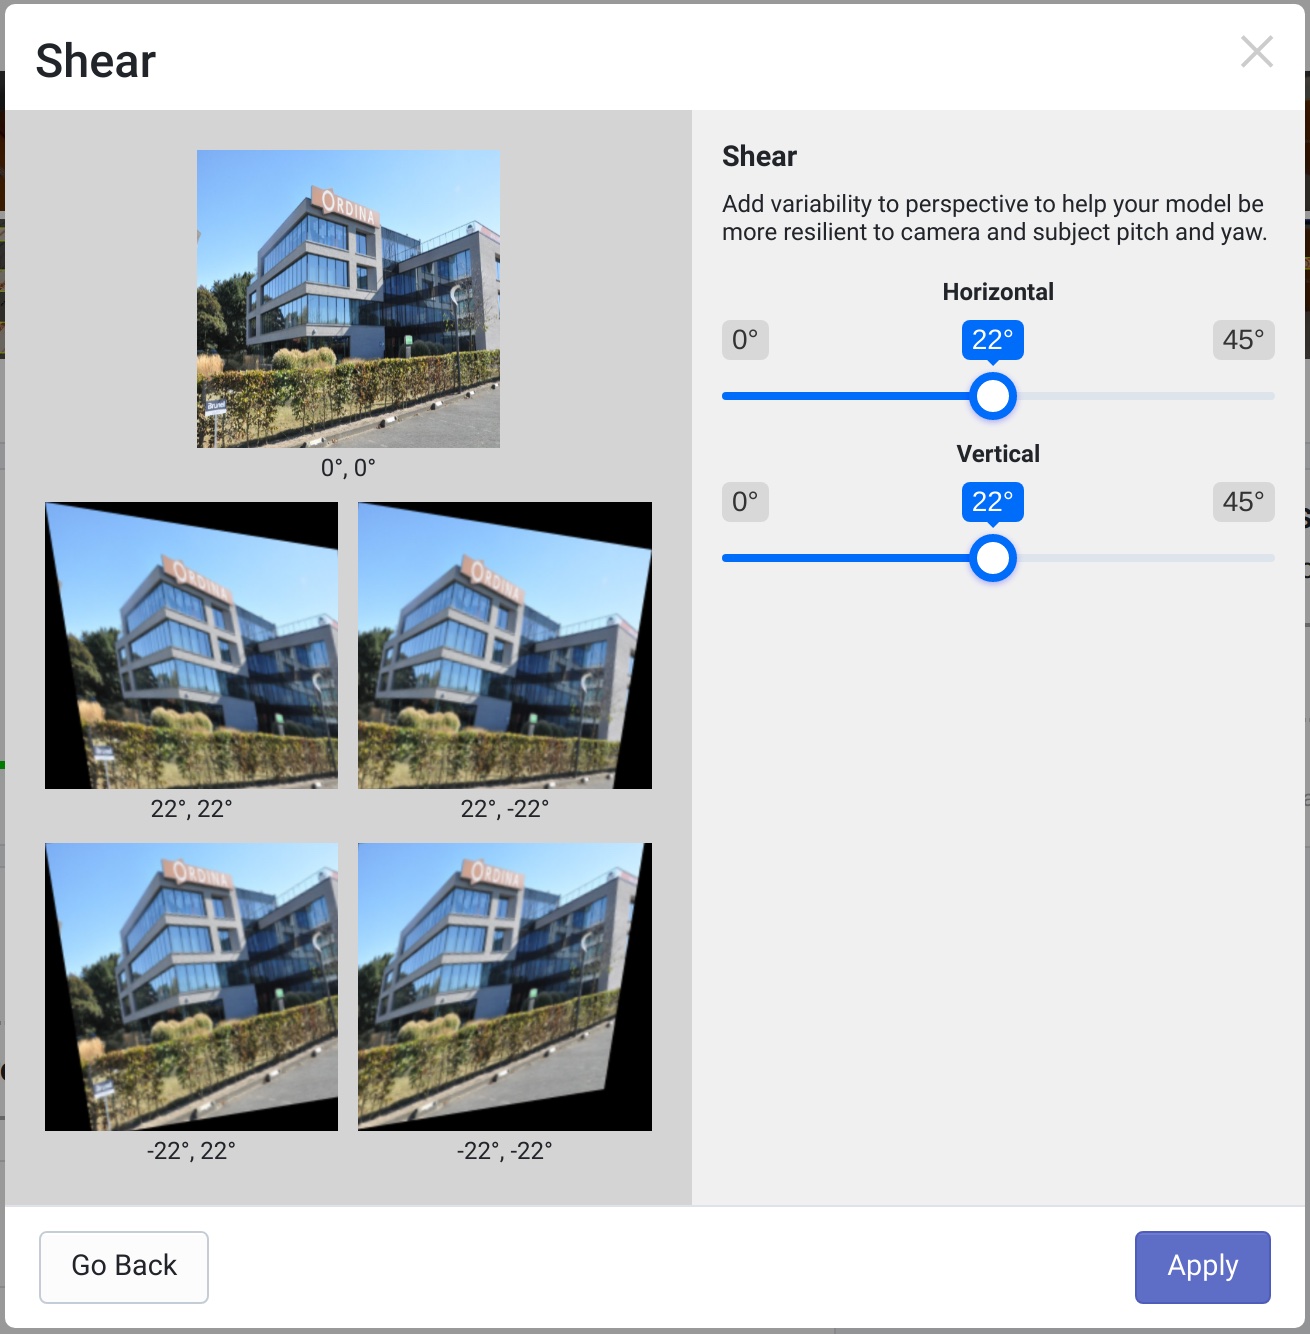
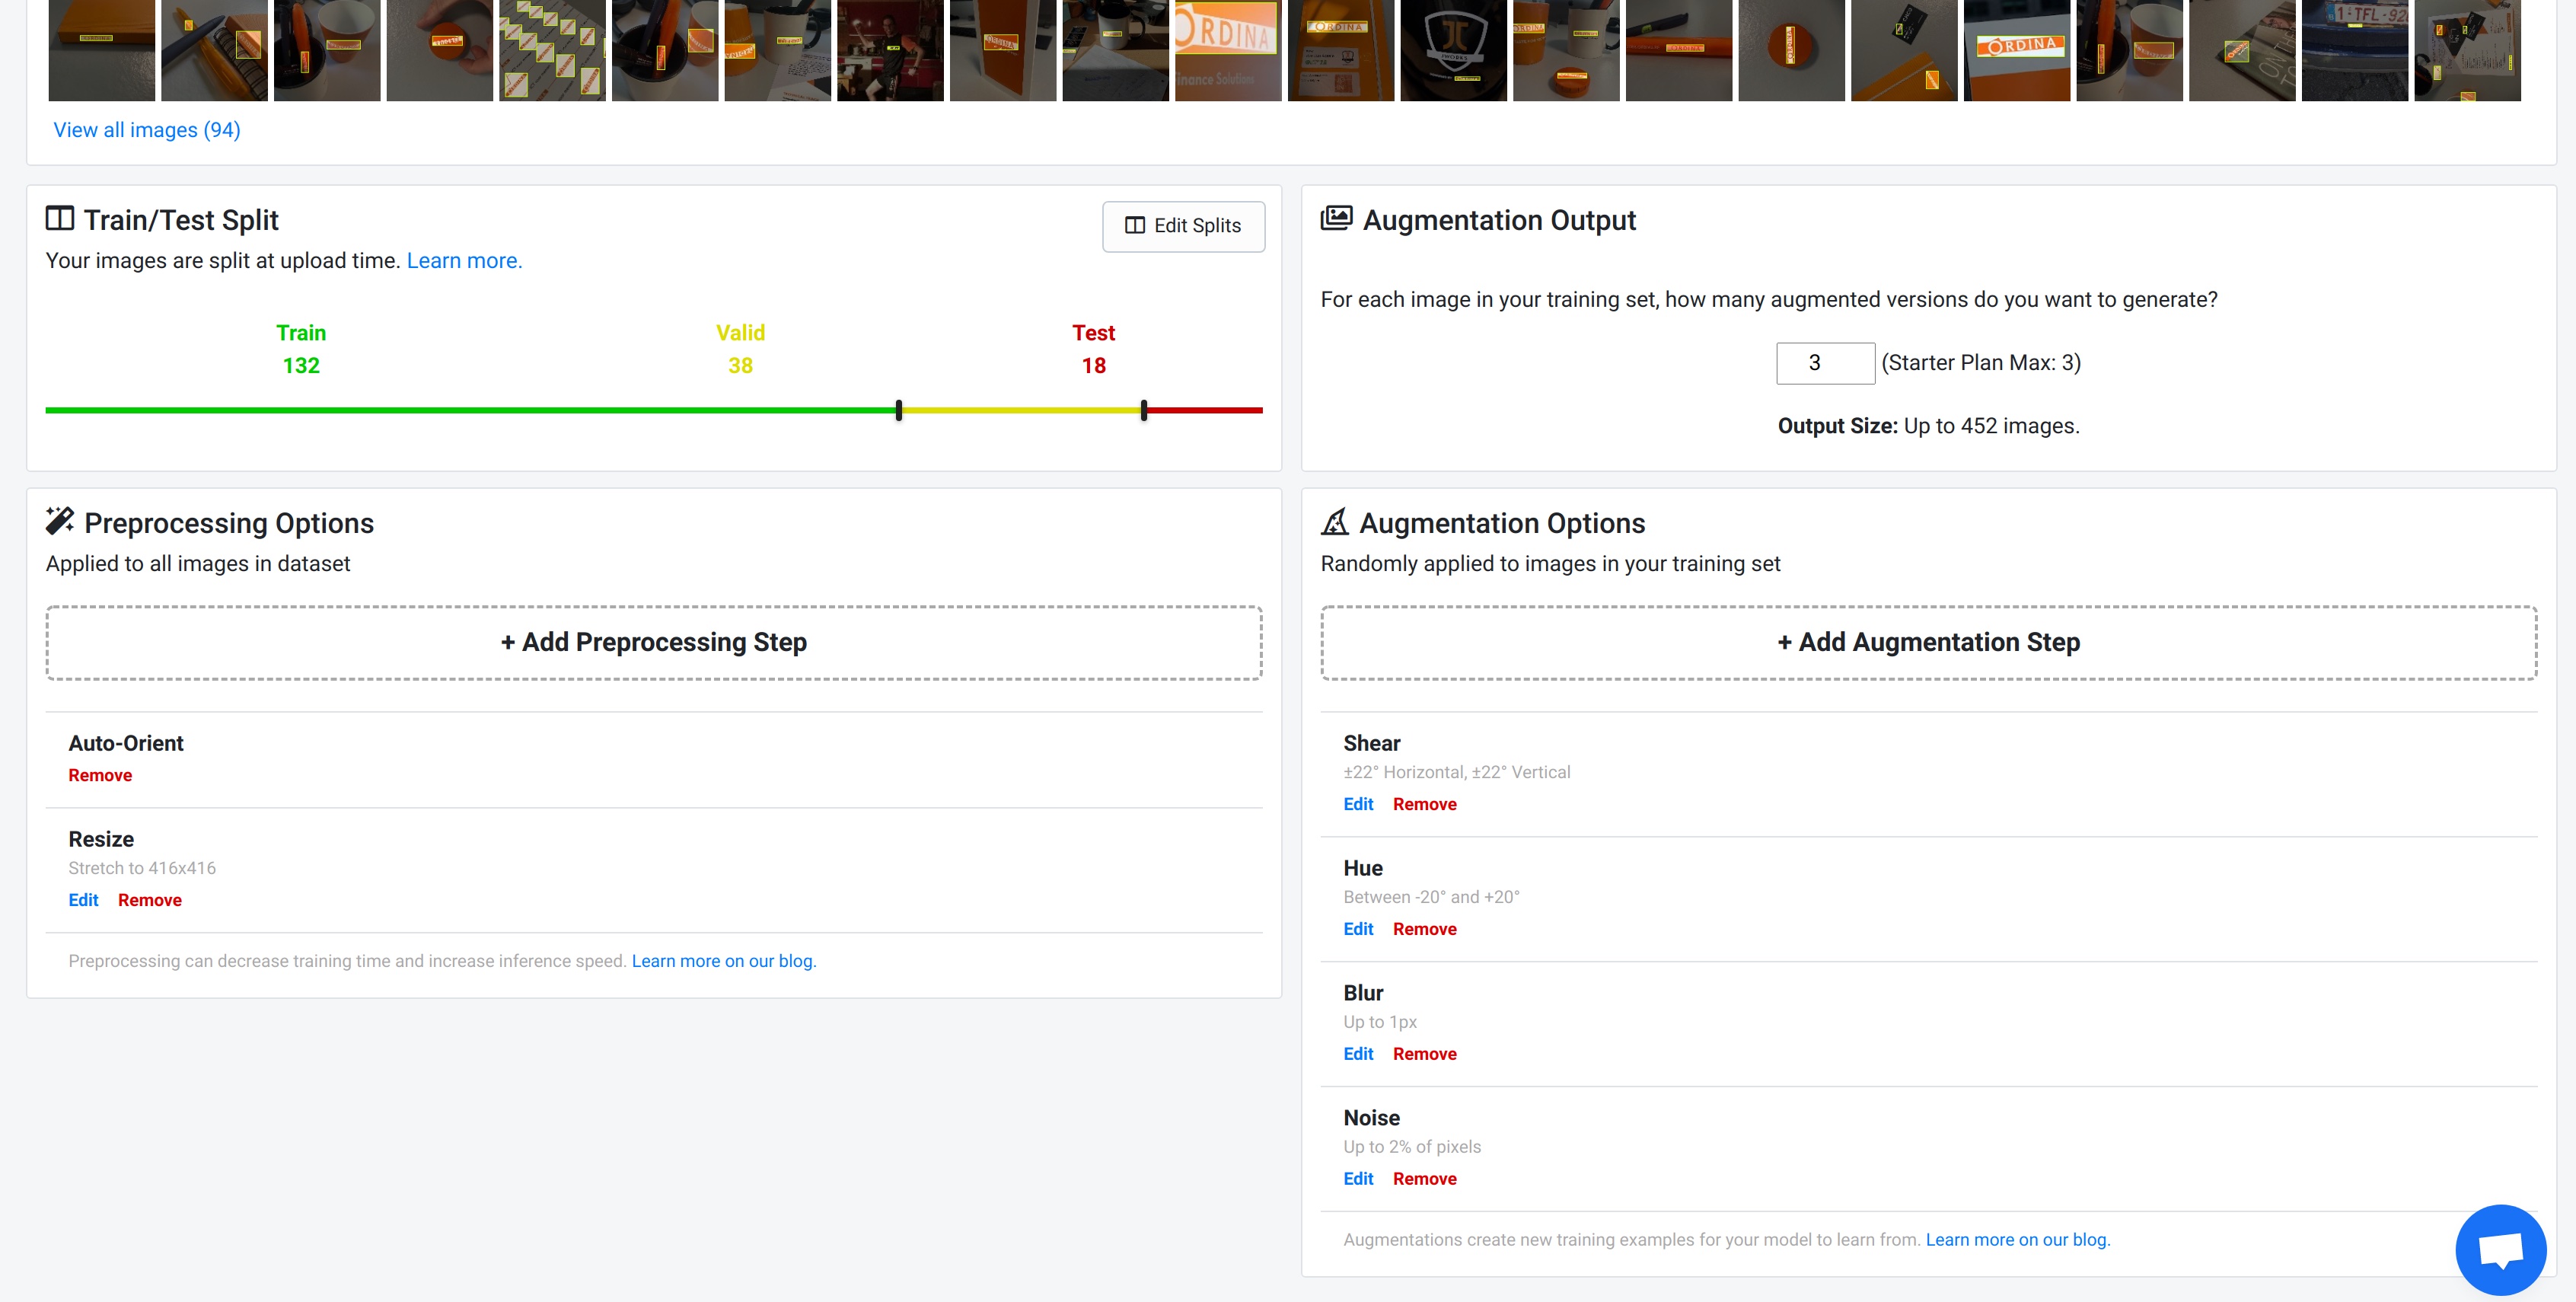
Once the data is labelled we want to use it to our advantage. A single photo can be skewed, blurred, pixelation added, hue moved (preferably a combination of all). This allows a single photo to become many more versions.
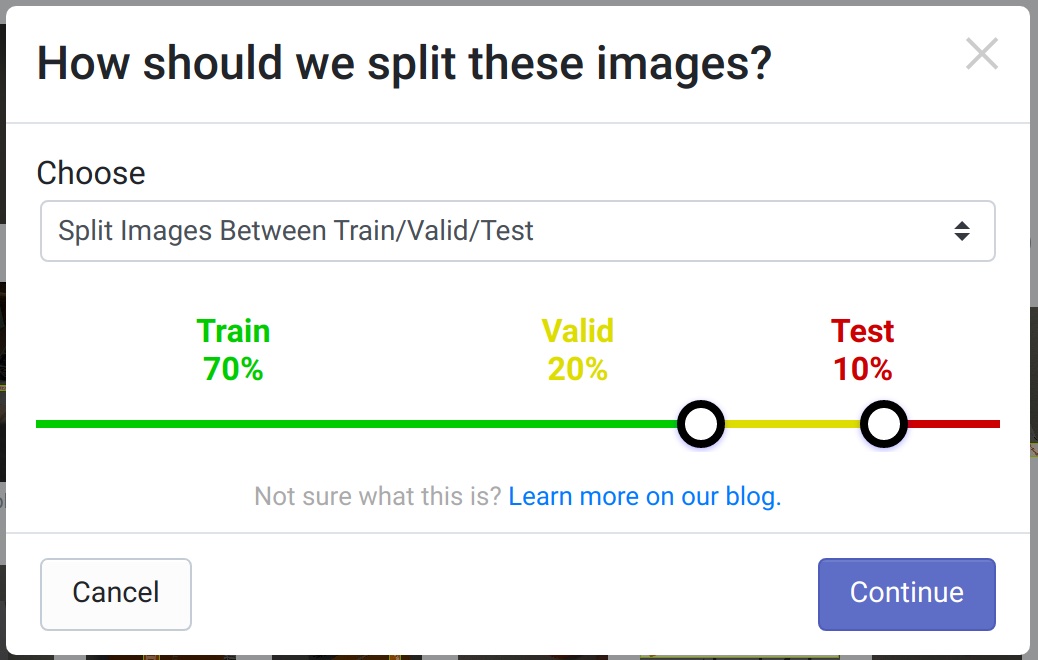
The manual method for doing this could involve using Photoshop macros on all the photos, then adding the annotations for the newly generated files. There are however tools that manage this for us. One of these tools is RoboFlow, an online dataset management system. RoboFlow allows you to upload images and add “augmentations” to the images. These augmentations are combined and like in our example we can create 226 images out of 94 base images, not bad. This is greatly beneficial in preventing the model from overfitting when used correctly. The free tier only allows a maximum of 3 augmentations per image so a large starting set of images is recommended. The pictures in the dataset are subdivided into three categories:
- Training: Used for training the model
- Validation: Used for hyperparameter tuning during the training process
- Testing: Used to evaluate the model in each epoch
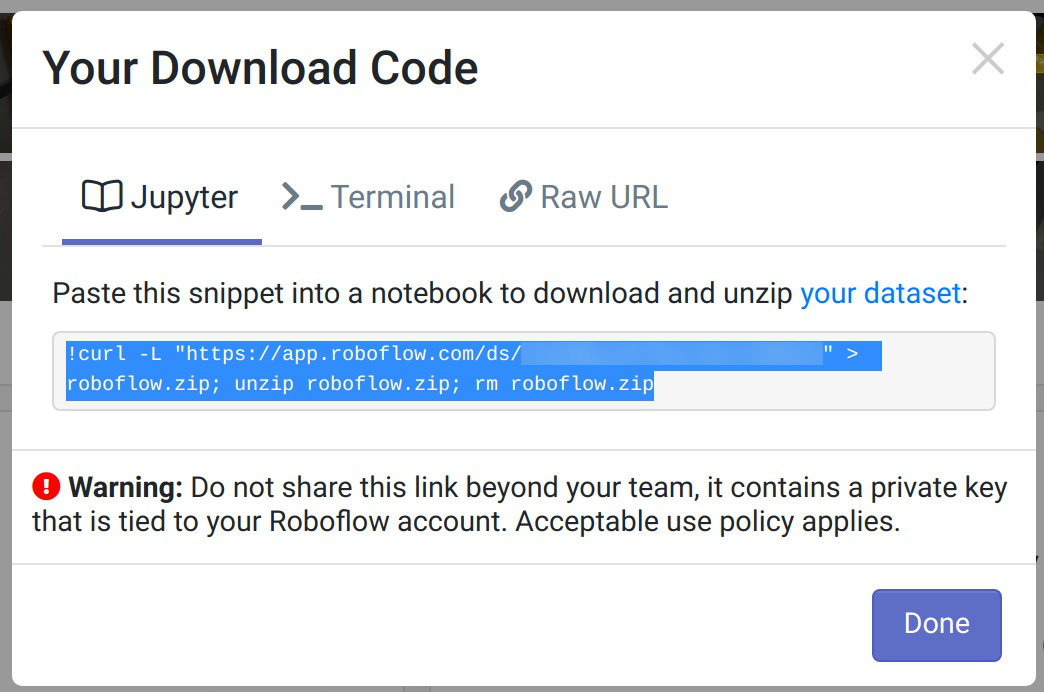
Once we have added the photos and the augmentations we can generate a version of the dataset and use the link to the dataset zip file to retrain the model. It’s very important to select the correct export format, being YOLOv5 PyTorch.
Training the model
For training the model I used the excellent blog post on the RoboFlow blog as a starting point, combined with the “Train-Custom-Data” section on the YoloV5 github wiki. I did use Google Colab for the first try and it does work, be it slower than on my personal machine.
Doing the training locally requires python3 and pip to be installed, virtualenv to be setup and the correct NVidia drivers to be loaded (at least on Debian). I created a new folder in which I cloned the YOLOv5 repo and created a new python virtual environment and started Jupyter notebook. The RoboFlow Google Colab is a great place to start. I copied all the steps over, making edits to allow it to run on my local machine. If you want to test this too, just copy the Google Colab file to your own Google Drive and start it from there. Google will even give you a cloud based GPU to use, for free!
The retraining process contains these main steps:
- Clone the YoloV5 repo, install any dependencies
- Download the dataset zip file and extract its contents
- Process the data generated in the dataset, choosing the size of the Yolo model to retrain and setting the number of classes that are in the dataset
- Retrain the model by using the ‘train.py’ file in the YOLOv5 repo
- Evaluate the training progress by using TensorBoard
- Save the best & latest model weights to a folder for later use
- Perform some own detection on previously unseen images
Testing the model
The last step after the model has been trained is to see how well it does when presented some new photos which were not in the dataset.
Performing the detection is simple.
We use the detect.py file in the YOLOv5 repo.
An example to perform detection on all files in a folder:
!python detect.py --weights runs/train/{today}/weights/best.pt --img 416 --conf 0.5 --source ../custom-test --name custom --exist-ok --save-txt --save-conf
The used parameters do the following:
- weights: This points to the weights file that has been created and saved by the retraining process
- img: Specified the size of the image, it will automatically resize any image input to match this number, has to be 416 this model
- conf: The minimum confidence level that should be reached to count as a detection
- source: A media file, being an image(or a folder containing multiple)/video/stream/
- name: Name of the folder to output the results to (will be stored under
yolov5/runs/detect/NAME) - exist-ok: Overwrite existing output instead of incrementing the name
- save-txt: Save the detection data to a text file (bounding box)
- save-conf: Add the confidence level to the text file
The result will be a folder named custom where all the images and text files reside. Each image will have a bounding box drawn around the detected logo, if any, with a confidence level. Each text file will contain the box coordinates in normalized WHXY format.
Example of text output
Class W H X Y Conf
0 0.503968 0.540551 0.207672 0.0691964 0.791504

The text file contains all the basic info that is needed to further process the detection result:
- Class: Class that has been detected
- W: The width of the detected object/bounding box, to be divided by 2 and extended from the X-Coordinate in both directions
- H: The height of the detected object, to be divided by 2 and extended from the Y-Coordinate in both directions
- X: The X-coordinate of the center of the detected object
- Y: The Y-coordinate of the center of the detected object
- Conf: (Optional) The confidence level, between 1 and 0.000001 (or between 1 and the minimum specified during detection), 1 being 100% certain, 0.000001 being the least certain possible
As you can see below one of my retrained models was able to detect the logo in all three never before seen images!


